您是否曾经想过在与 ChatGPT 的聊天会话中能够直接查看 HTML/CSS 代码的渲染图像?对于 WEB 前端开发人员来说,这种功能极具实用性。
在本文中,我们将展示如何开发一个 ChatGPT Plugin(插件) 的方法和过程,该插件可使ChatGPT 对我们的 HTML/CSS 代码进行渲染,并将渲染后的代码图像发送给用户。
ChatGPT Plugins
ChatGPT 插件是个强大的工具,可通过将其连接到第三方应用程序来扩展 ChatGPT 的功能(实际是使用 ChatGPT 来提升第三方应用的能力)。这些插件允许 ChatGPT 与开发人员定义的API交互,并执行各种操作,例如获取实时信息、检索知识库信息或代表用户执行操作。

Web 渲染插件
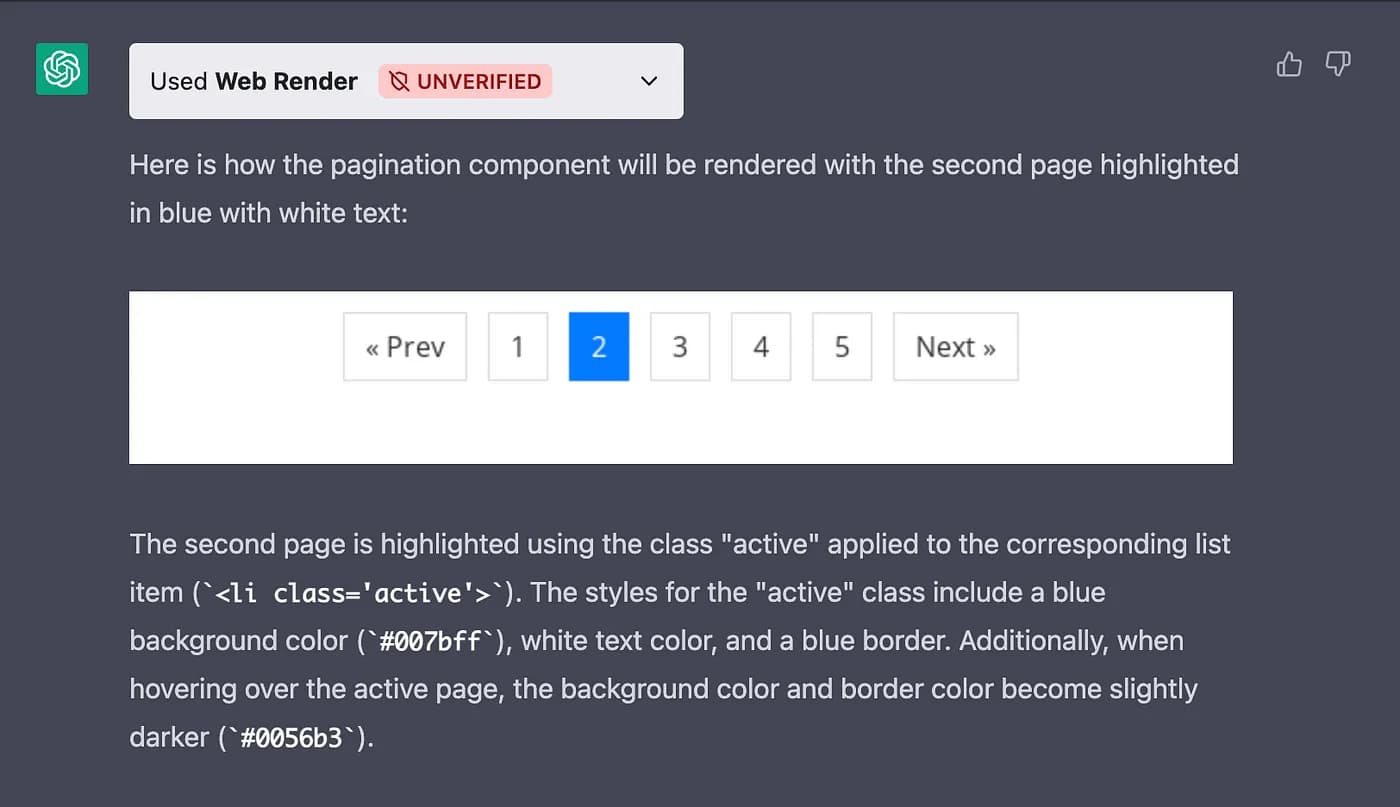
Web Render 是我构建的一个简单插件,它赋予了 ChatGPT 渲染 HTML/CSS 代码并在聊天中向用户提供渲染后的代码图像的能力。该图像可帮助用户可视化代码的外观,使其更易于理解。
Web Render插件使用 NextJS/TS 与 Playwright 构建,并在Vercel上托管,生成的图像使用 imgbb.com 存储。
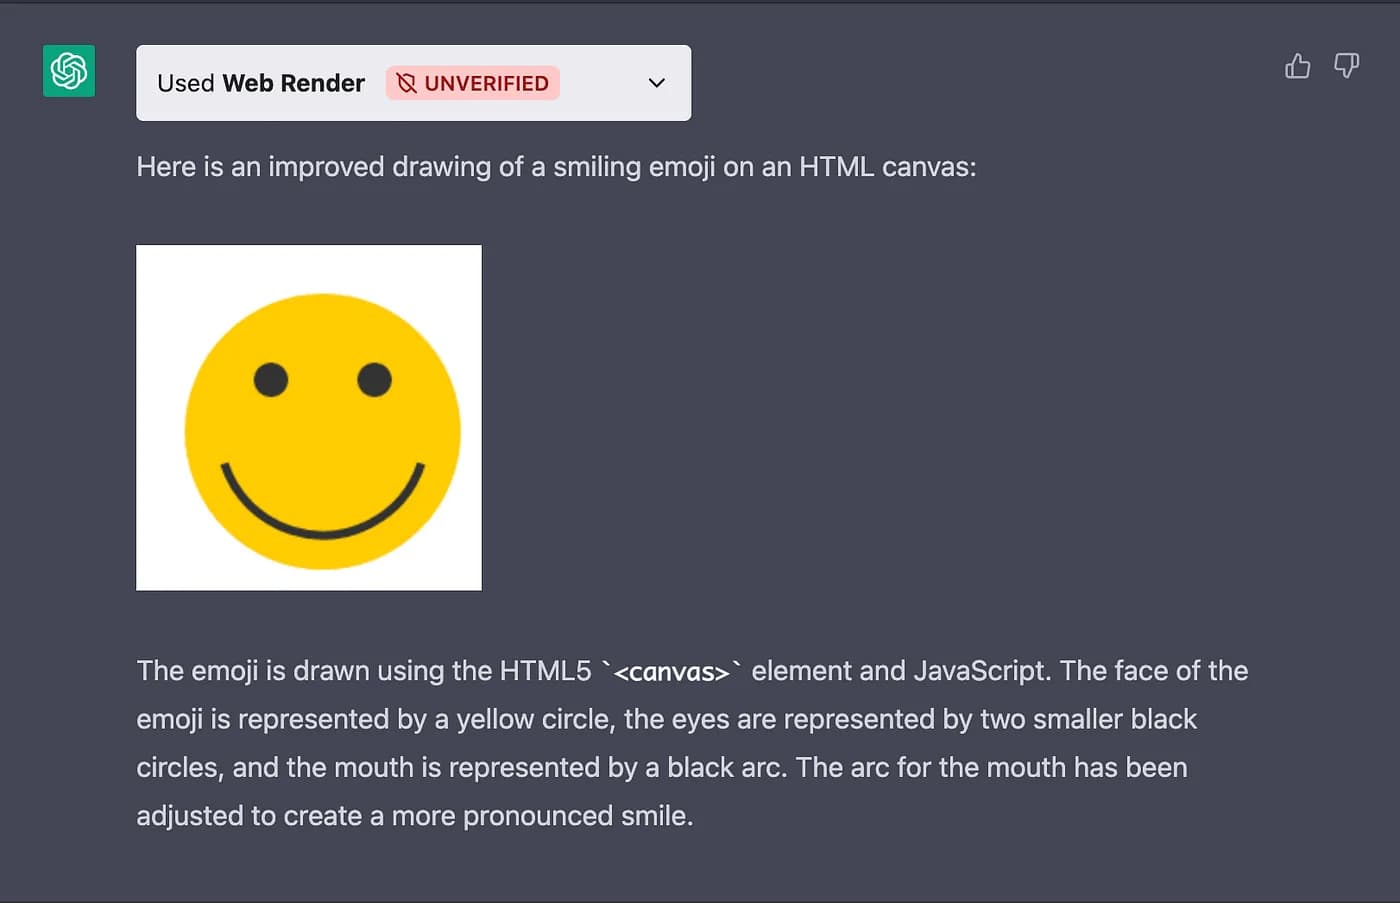
在对话期间,该模型还可以使用 HTML5 Canvas 和 Javascript 绘制图片,如下图所示:
开发流程
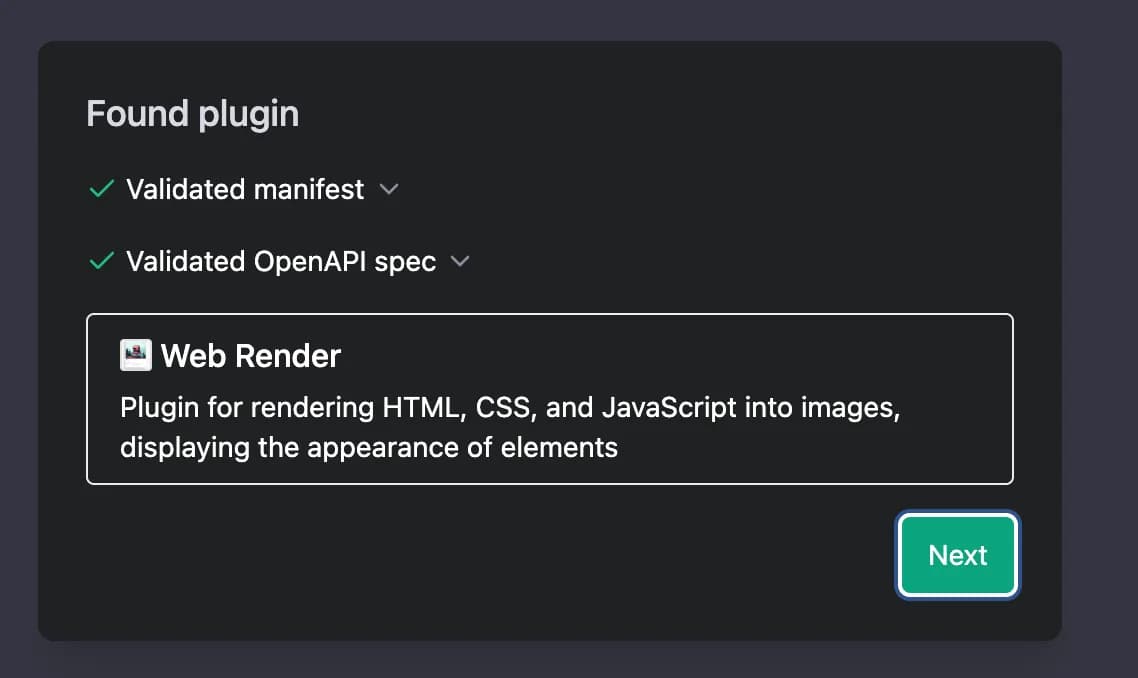
要构建插件,我们需要了解 ChatGPT 插件的整体开发方法和流程。第一步是创建一个清单文件,其中包括有关插件的元数据,有关身份验证的详细信息以及用于 OpenAPI 的配置文件。
OpenAPI 配置用于为不同字段提供自然语言描述:
openapi: 3.0.0
info:
  title: HTML/CSS/JS to Markdown Image Link API
  version: 1.0.0
servers:
  - url: https://web-render.vercel.app/api
paths:
  /render:
    post:
      summary: Render HTML, CSS, and JavaScript to a markdown image link
      operationId: renderPage
      requestBody:
        required: true
        content:
          application/json:
            schema:
              type: object
              properties:
                html:
                  type: string
                  description: The HTML content to be rendered as an image.
                css:
                  type: string
                  description: The CSS styles to be applied to the HTML content.
                javascript:
                  type: string
                  description: The JavaScript code to be executed in the rendered page.
                  default: ''
                viewportWidth:
                  type: integer
                  description: The width of the viewport for rendering the image.
                  default: 640
                viewportHeight:
                  type: integer
                  description: The height of the viewport for rendering the image.
                  default: 640
                imageFormat:
                  type: string
                  description: The image format for the output image ('jpeg' or 'png').
                  default: 'png'
              required:
                - html
                - css
      responses:
        '200':
          description: Successfully rendered the HTML, CSS, and JavaScript as a markdown image link.
          content:
            application/json:
              schema:
                type: object
                properties:
                  markdownImageLink:
                    type: string
                    description: The markdown image link containing the rendered HTML, CSS, and JavaScript as a base64-encoded image.
        '400':
          description: Bad request. HTML and CSS are required.
          content:
            application/json:
              schema:
                type: object
                properties:
                  message:
                    type: string
        '500':
          description: Internal server error.
          content:
            application/json:
              schema:
                type: object
                properties:
                  message:
                    type: string
插件说明、API 请求和 API 响应均由 ChatGPT 插入到对话上下文中:
{
  "schema_version": "v1",
  "name_for_human": "Web Render",
  "name_for_model": "html_css_js_renderer",
  "description_for_human": "Plugin for rendering HTML, CSS, and JavaScript into images, displaying the appearance of elements",
  "description_for_model": "Plugin for rendering HTML, CSS, and JavaScript into images, displaying the appearance of elements",
  "auth": {
    "type": "none"
  },
  "api": {
    "type": "openapi",
    "url": "https://web-render.vercel.app/api/spec",
    "is_user_authenticated": false
  },
  "logo_url": "https://web-render.vercel.app/logo.png",
  "contact_email": "[email protected]",
  "legal_info_url": "https://web-render.vercel.app/legal"
}
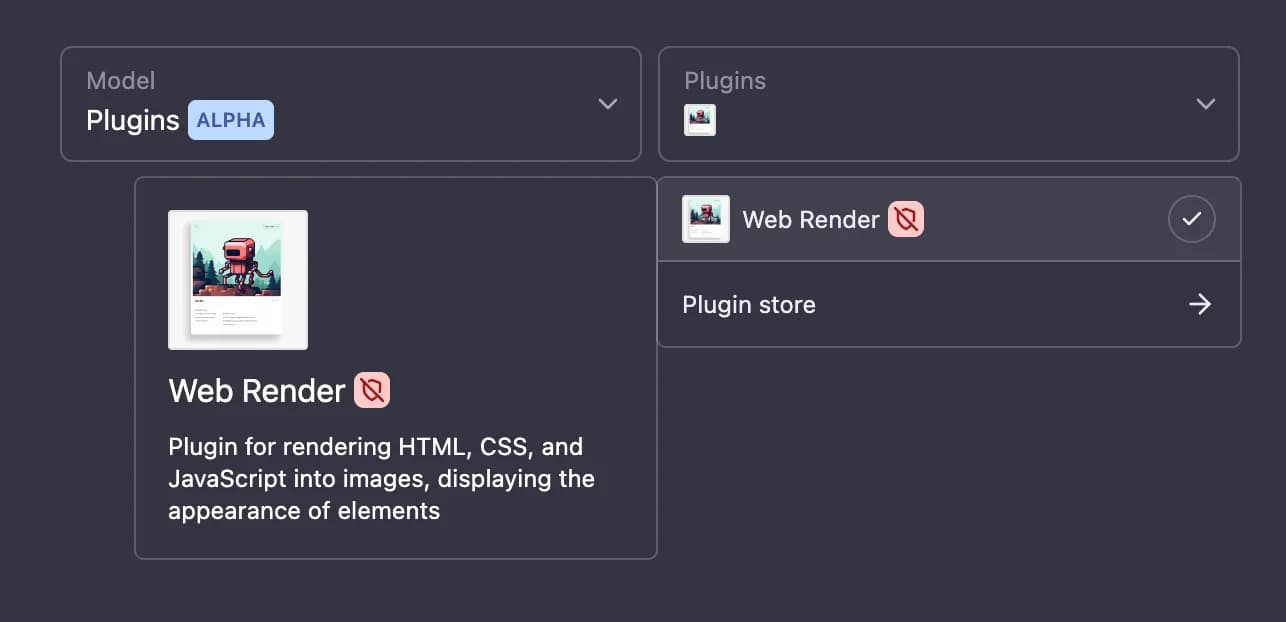
创建清单文件后,下一步是在 ChatGPT UI 中注册插件。在 Alpha 版本期间,插件开发人员可以与15个用户分享他们的插件,同时开发人员可以安装未经验证的插件。
如果需要身份验证,用户将通过 OAuth 被重定向到插件,但此插件不需要身份验证。

当用户提出相关问题时,如果看起来需要使用本插件功能,ChatGPT 会选择从插件调用 API,并将 API 结果合并到其向用户的响应中,这就是来自 Web Render 渲染的图像。

功能实现
插件的主要功能是 renderImage 函数,该函数以 HTML、CSS、JavaScript、图像宽度、高度、格式作为输入。
完整源码已发布到 Github Repo 中:
此函数首先使用 Playwright 启动 Chromium,创建一个新页面,设置视口大小,使用 HTML、CSS 和 JavaScript 输入设置页面内容,然后以指定的图像格式对页面进行屏幕截图。最后再将截图上传到 imgbb.com,并返回图片 URL。
const renderImage = async (
  html: string,
  css: string,
  javascript: string,
  viewportWidth: number,
  viewportHeight: number,
  imageFormat: "jpeg" | "png"
): Promise<string> => {
  const browser = await launchChromium();

  const page = await browser.newPage();
  await page.setViewportSize({ width: viewportWidth, height: viewportHeight });
  await page.setContent(`
    <style>${css}</style>
    ${html}
    <script>${javascript}</script>
  `);

  const screenshotBuffer = await page.screenshot({ type: imageFormat });

  const imageUrl = await uploadToImgBB(screenshotBuffer);
  await browser.close();

  return imageUrl;
};
另一个重要的函数是默认函数,它是用户发出请求的终点。该函数接收用户的请求,包括HTML、CSS、JavaScript、视口宽度和高度以及图片格式,并返回一个JSON响应。
如果未提供HTML和CSS输入,则返回一个状态代码为400和错误消息的响应。
如果 renderImage 函数执行成功,则该函数返回一个状态代码为200的响应和一个包含图像 UR L的 JSON 对象。
export default async (req: NextApiRequest, res: NextApiResponse) => {
  const {
    html,
    css,
    javascript = "",
    viewportWidth = 640,
    viewportHeight = 640,
    imageFormat = "png",
  } = req.body;

  if (!html || !css) {
    return res.status(400).json({ message: "HTML and CSS are required." });
  }

  try {
    const imageUrl = await renderImage(
      html,
      css,
      javascript,
      viewportWidth,
      viewportHeight,
      imageFormat
    );
    return res.status(200).json({ imageUrl });
  } catch (error) {
    console.error(error);
    return res.status(500).json({ message: "Error rendering image." });
  }
};
技术难点
在构建Web渲染插件时遇到的挑战之一与 Puppeteer 软件包有关。该软件包超出了 Vercel 函数的大小限制,因此我改用了 Playwright。通过 Playwright,我能够克服这个挑战并成功部署该插件。

ChatGPT 带来的惊喜
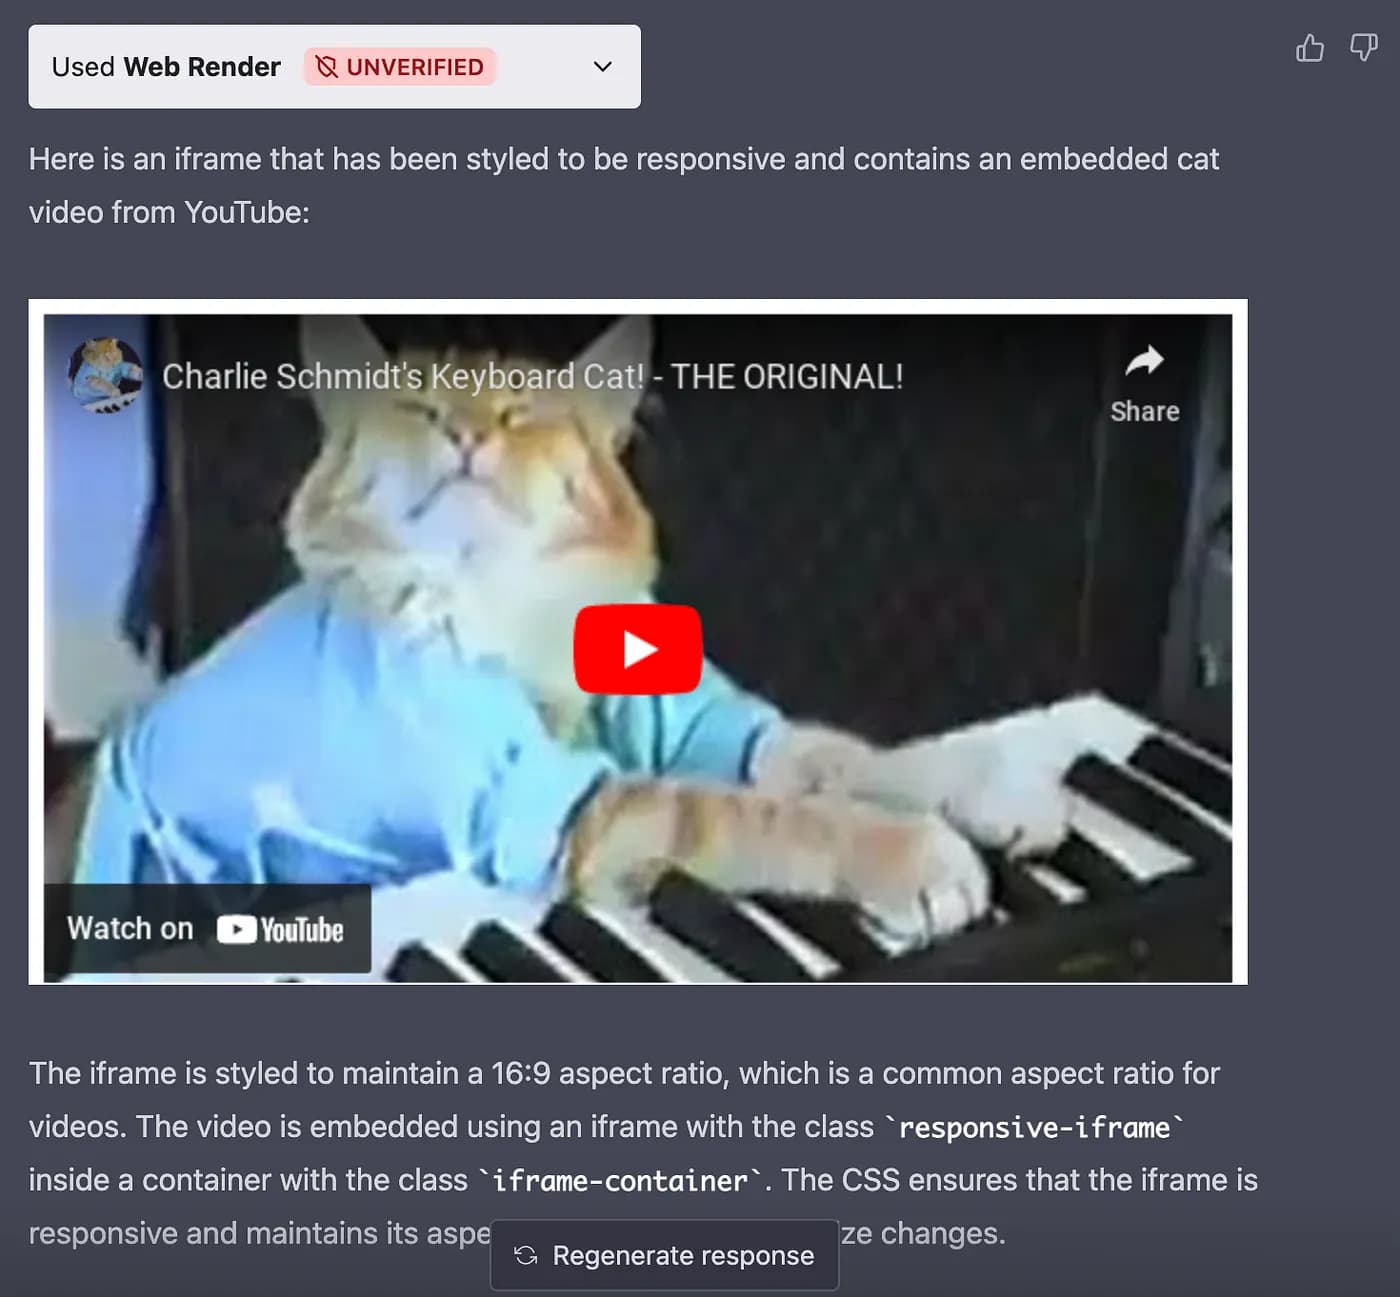
令人感到惊喜的是,在与 ChatGPT 聊天时,我发现它能够渲染一个 iframe 并返回渲染页面的图像,于是我直接发送了一个有关猫的 YouTube 视频。得到了如下结果:
总结
本文讨论了如何构建并开发一个 ChatGPT 插件,使 ChatGPT 能够渲染 HTML/CSS 代码并在聊天中向用户发送渲染后的代码图像。该插件被称为 Web Render 插件,它基于 NextJS/TS 和 Playwright 构建,并托管到 Vercel 上。
在对话中,模型还能够使用 HTML5 画布和 JavaScript 绘制图片。插件的主要功能通过renderImage 函数实现,它接受 HTML、CSS、JavaScript、图片宽度、高度以及图像格式作为输入,并返回渲染后的图像 URL。如果用户输入中没有包含 HTML 和 CSS 代码,则返回状态码为 400 的响应。
本开发实例主要难点在于 Puppeteer 包的大小超过 Vercel 函数限制,不过可以通过使用Playwright 来解决这个问题。
总之,构建 ChatGPT Web 渲染插件是增强模型能力并为用户提供独特体验的绝佳方式。该插件的实现展示了ChatGPT API 的强大、智能性以及与之相关的更多可能性。